Cloud Build: Azure and Docker
Are you looking for a cloud build? Here is a cloud build that I conducted with some colleages learning on what you can do in the cloud. Here is the cloud build that I shared with them in July 2022.
This is just one approach on how to complete this, but NOTE, there are other ways that this could be conducted.
Introduction
For our build we will create a Azure vm, install Docker, and run a Docker container for a website that I have created. You could use any Docker container of your choice.
Getting Started
The following will help you get started with this build:
- Have either a Azure free account OR A Cloud Guru account.
- Have either the Azure CLI installed on your computer OR use the Azure Cloud Shell.
Build and Test
Step 1
Lets create our resource group:
A Cloud Guru option
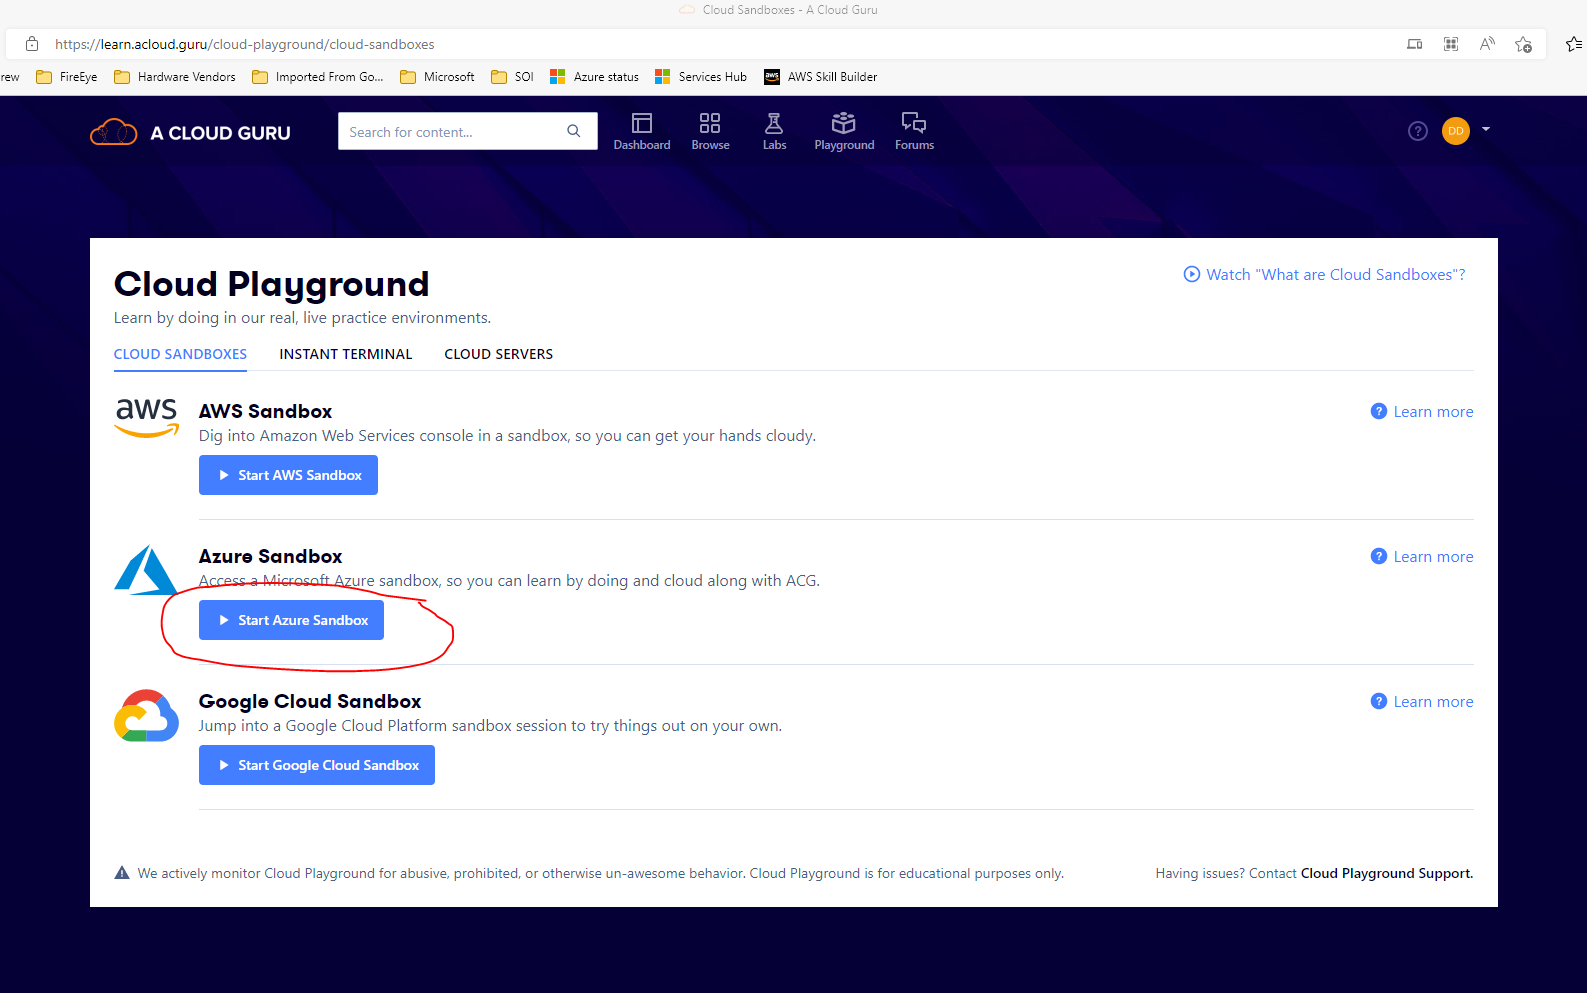
Lets create our A Cloud Guru Azure Sandbox. Click here to click ‘Start Azure Sandbox’. Note, this will also automatically create a Azure Resource group for us.
Personal account option
az group create \
--name myCloudBuildGroup \
--location eastus
Step 2
Lets setup our Azure Cloud Shell.

Step 3
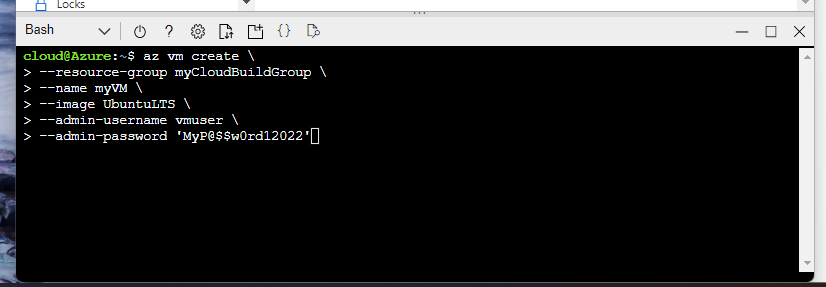
Lets create our Azure VM. We can use Azure CLI commands into the Azure Cloud shell to create a VM and open port 80 for web traffic.
# Create our virtual machine
az vm create \
--resource-group myCloudBuildGroup \ # NOTE, change this to the resource group that was created for you.
--name myVM \
--image UbuntuLTS \
--admin-username vmuser \
--admin-password 'MyP@$$w0rd12022'

# Open port 80 for web traffic
az vm open-port \
--port 80 \
--resource-group myCloudBuildGroup \
--name myVM
Step 4
Lets get Docker setup on our Azure VM. So, lets SSH into, create a script (cause this will be faster), and then finally run our script that we created. So lets create our install-docker.sh as follows:
# Lets set up our repository for Docker.
# Lets update our package index.
sudo apt-get update

# Lets install some packages to allow for apt to use https.
sudo apt-get install \
    ca-certificates \
    curl \
    gnupg \
    lsb-release

# Lets add Docker's GPG key.
sudo mkdir -p /etc/apt/keyrings
curl -fsSL https://download.docker.com/linux/ubuntu/gpg | sudo gpg --dearmor -o /etc/apt/keyrings/docker.gpg

# Lets setup the Docker's repository.
echo \
  "deb [arch=$(dpkg --print-architecture) signed-by=/etc/apt/keyrings/docker.gpg] https://download.docker.com/linux/ubuntu \
  $(lsb_release -cs) stable" | sudo tee /etc/apt/sources.list.d/docker.list > /dev/null

# Now lets the latest version of Docker Engine
# Lets update our package index.
sudo apt-get update

# Lets install Docker Engine, containerd, and Docker compose to latest version.
sudo apt-get install docker-ce docker-ce-cli containerd.io docker-compose-plugin

# Lets verify that Docker install correct by running hello-world.
sudo docker run hello-world
Now lets run that shell script.
bash install-docker.sh
If we see hello-world, then our script was successful.
Lets do some post-installation configuration so we can run ‘docker’ commands with have to sudo.
# Lets create a docker group
sudo groupadd docker

# Lets add our logged on user to the docker group
sudo usermod -aG docker $USER

# Lets exit our ssh session for this change to take affect
exit

# Lets go back to our vm
ssh vmuser@myPublicIP

# Now lets verify its working without sudo
docker run hello-world
Step 5
Lets run our web application that has been already created. For ease we will be using one that has been already created, ‘davisdre/littlelink:latest’.
docker run -d \
--name=littlelink-server \
-p 80:80 \
davisdre/littlelink:latest
Step 6
Now lets test that our application is up and running. We will test via ‘curl’ and any web browser of choice.
curl http://localhost
Cleanup resources
If you’re not going to continue to use this application, you can delete the Azure resource through the following steps:
A Cloud Guru option
Lets click the button to delete resource or let it lapse.
Personal account option
Use the Azure portal to deleted your resource group or via Azure CLI using our snippet.
# Remove our resource group. THIS ONLY NEEDS TO BE DONE IF YOUR NOT USING A CLOUD GURU SANDBOX OPTION.
az group delete \
--name myCloudBuildGroup
Azure Technologies
Just some of the Azure servies we used today
- Azure VM
- Azure Cloud Shell
- Azure CLI
Resource Links
- https://docs.docker.com/engine/install/ubuntu/#install-using-the-repository
- https://docs.docker.com/engine/install/linux-postinstall/
- https://docs.microsoft.com/en-in/azure/virtual-machines/linux/quick-create-cli
- https://docs.microsoft.com/en-us/cli/azure/vm?view=azure-cli-latest#az-vm-create
- https://github.com/davisdre/littlelink